Wreathing Is Believing
Campus Life
Six Easy Steps To Go From Bare Ring to Door Bling

Photo by Shana Sureck
Published December 13, 2023
As the holidays approach, staff at the Botanic Garden of Smith College are revealing one of the season’s best-kept secrets: A homemade wreath is really not that difficult to make.
To demonstrate, Gardener and Assistant Curator Dave Dion has gathered a pile of balsam and boxwood with smaller piles of green-gold dwarf thread sawara false-cypress, red winterberry branches, and a box of large pinecones and spikey gum.
Later in the semester, Smith’s botany experts will guide select groups of students and alums through the wreath-making process, so this test run will help work out any kinks (or in the case of wreaths, properly add those twists in). Working with Communications Manager Julie Thomson, Dion sets the expectations: A wreath should take about an hour to create—and it should be fun.
This is supposed to be relaxing, not stressful. There is no right or wrong,” says Dion. “It’s art. Just do your own thing.”
Here Dion shares his six simple steps for making the best wreath of your own.

Photo by Shana Sureck
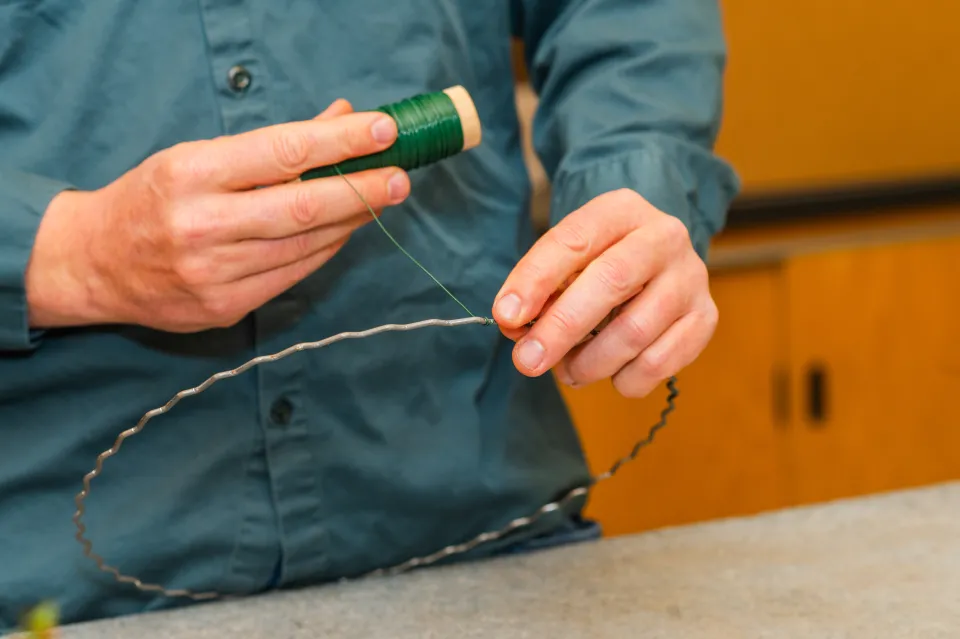
Photo by Shana Sureck
1. Put a Ring on It
When it comes to wreath materials, you’ll need to purchase only two: a metal ring (12 inches is a standard size, but almost any size will do) and a spool of green wire. Dion notes that typical spools usually have enough wire for 20 wreaths. Both options can be found at many florist shops (the botanic garden staff source theirs from Springfield Florist).
“The investment is really little,” says Dion. “The rest you can collect outside.”


2. Get Together, Bright Boughs
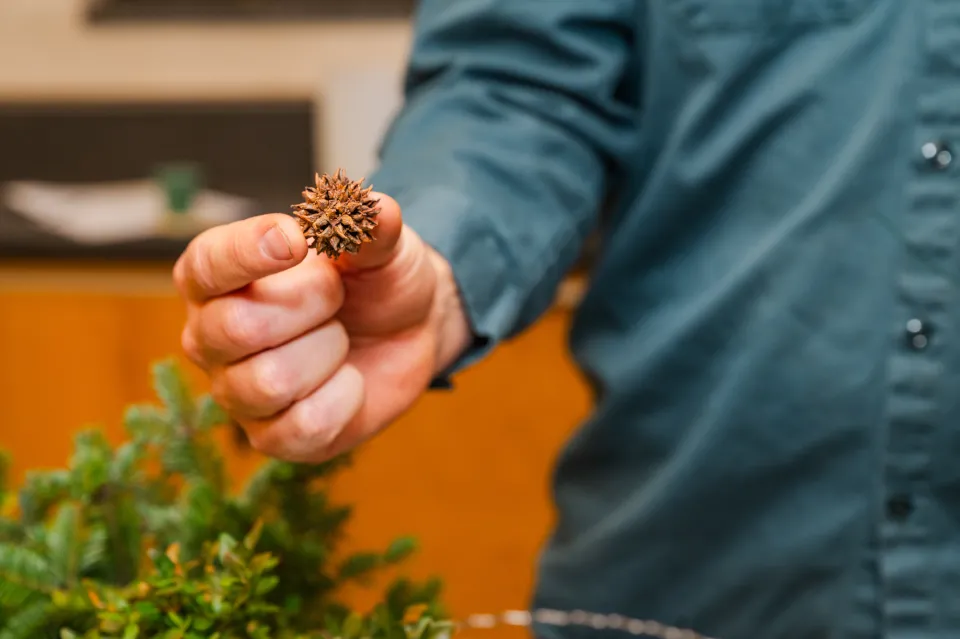
Next, head outside with a pair of clippers to gather the materials that make up the bulk of a wreath: the base and the fancies. While a traditional wreath uses branches of balsam fir as its base material, there are many other options, including boxwood. For fancies, or the wreath highlights, Dion recommends collecting different textures and colors. Options might include seasonal sensations such as cypress, branches of winterberry, and sweetgum balls.
“They do sell fake winterberries that will stay on longer, but then you’re purchasing plastic stuff,” he notes. “When you’re done, you can add ornaments, but you’ve got to be aware of the scale of the ornament, because if it’s a giant ornament, the scale will be off.”
One note of caution: When out gathering, only take materials where you have clear permission to do so. (Don’t lop off your neighbor's hedge, in other words.)

3. No Scrubs—in the Front
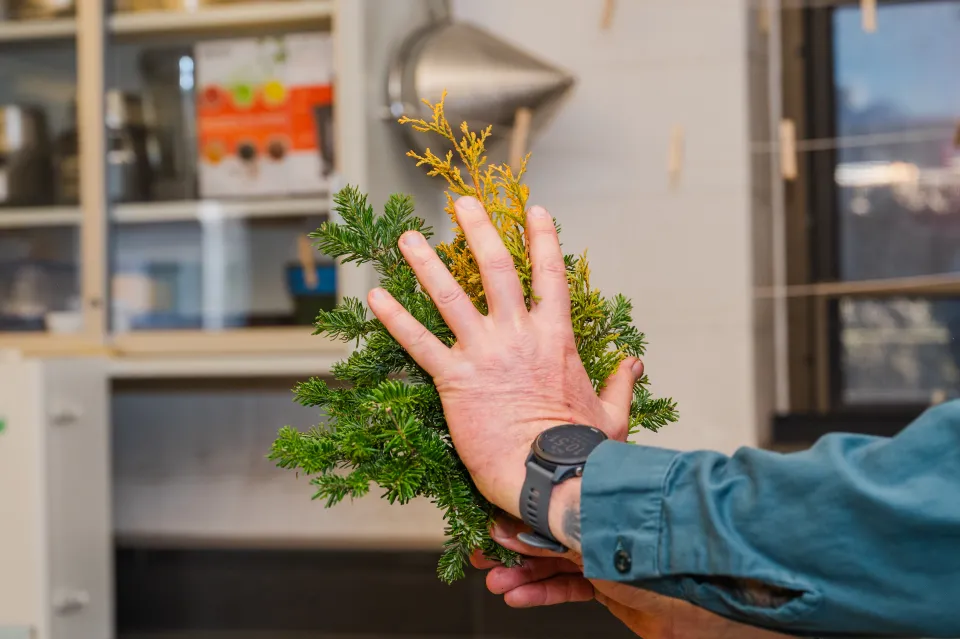
Once you have a good pile of base materials, take individual branches and trim small sections off that are all roughly the same length. Line up all the butt ends of the branches to make a bundle of greens roughly the size of your hand. Dion notes that branches often have a back and a front and that the front should face outward on a one-sided wreath. Hide longer and rougher branches in the back and use the tips of the branches on the outside.
“There’s no right and wrong,” says Dion. “If it’s a little shorter, a little longer, it doesn’t matter.”
4. Wrap It Like It’s Hot
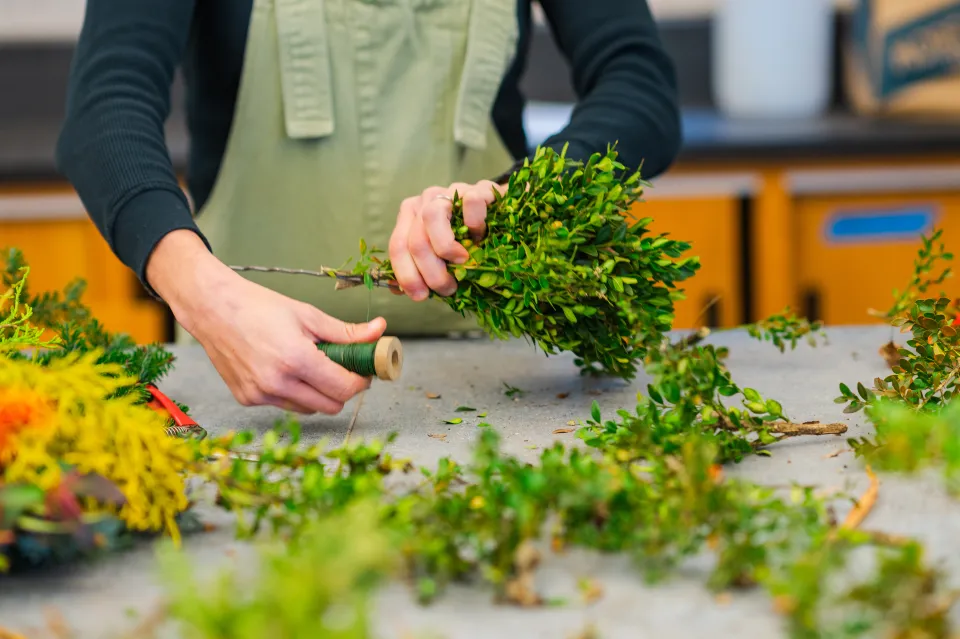
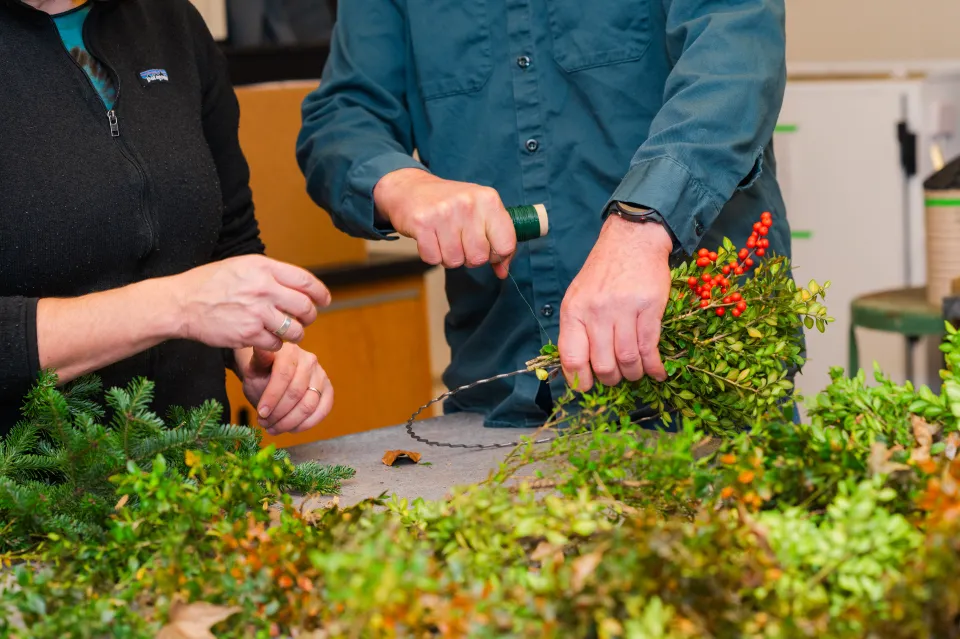
Holding the cut ends tight, take the bundle in your left hand, put it against the wreath frame and wrap the ends to the frame with wire. Wrap just the point of the bundle where the branches are cut. (If the wire starts encircling too much of the bundle, it will flatten the evergreens).
As you wrap, make sure that the wire is held so that you can keep it tight to the spool. If you hold the wire so that the spool is also loose and unraveling, “you’re fighting it the whole way around,” notes Dion. The wire does not have to be wrenching tight, but it should be tight enough so that the bundle doesn’t fall off.
After being wrapped and held up, the bundles will still move slightly—and that’s okay! (It should not be loose enough to spin around the frame.)
When you’re ready for your next bundle, choose the spacing carefully. Bundles placed close together will create a thick wreath and those far apart will create a thin one. “I just kind of do a happy medium, Bob Ross-style,” says Dion.

5. Fancies, Don’t Let Us Down
Fancies, the colorful elements that make a wreath unique, can be added at any time and in any amount. Include small fancies with the handful of base as you make the bundles, or create a separate bundle of only fancies to intersperse along the frame. Fancies can also be added after the wreath is complete, by poking in single branches to the bundles where you want them. “Some people decide whether they’re going to make it symmetric or asymmetric,” says Dion. “I just kind of chaos it.”

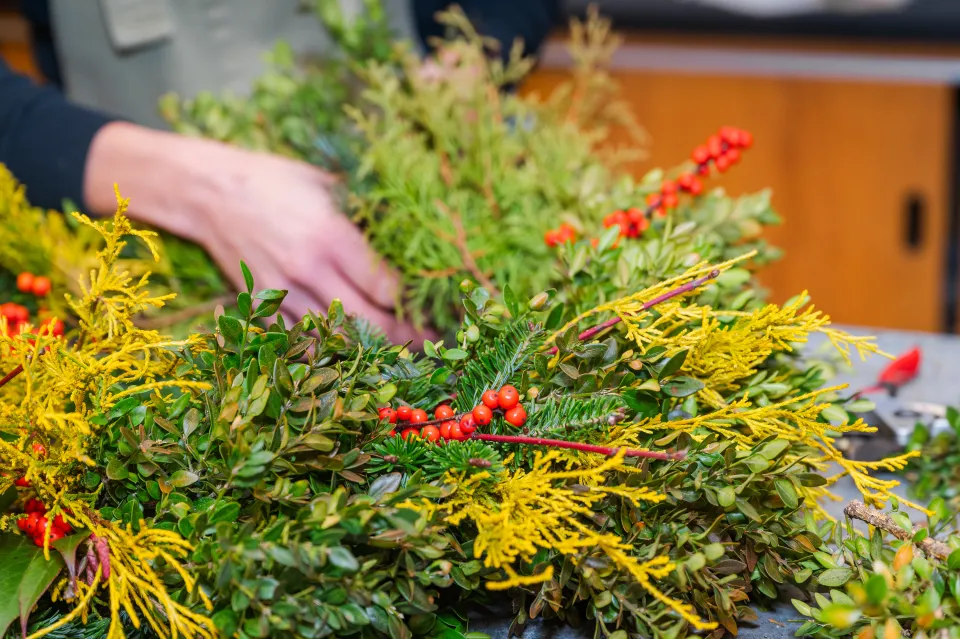
6. Loop de Loop
To finish the wreath, add the last bundle, and push the first slightly aside to wrap underneath. Hold out the wreath and admire! Not only is this a moment to relish your work, it will help figure out which way the wreath will hang. Adding a small loop of wire to whatever you decide is the top will help the wreath hang properly (otherwise, the greenery could push the wreath off the hook).
Dion says this is also the moment he grabs pruning shears. “If there’s something randomly sticking out, you can fix it and tidy it up,” he notes. “When I make mine, I put it together and then I trim it later to make it the way I want it.”


